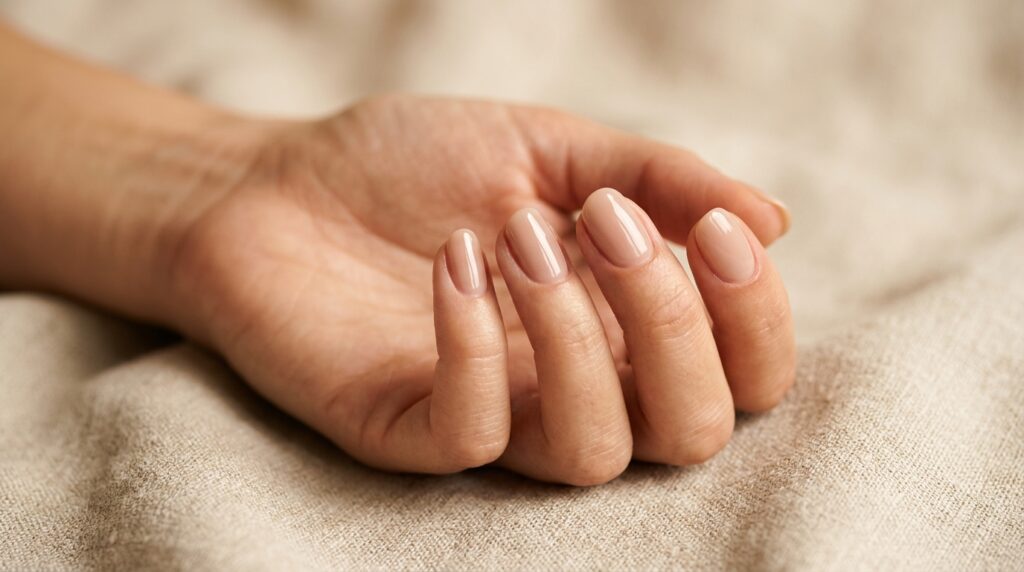
It’s tempting to try to peel or pry off your acrylic nails at home, especially if they’ve started to lift or you can’t get an appointment straight away. But removing acrylics the wrong way can seriously damage your natural nails and even put you at risk of infection. In this guide, I’ll walk you through when it’s okay to attempt DIY removal, what you’ll need, and exactly how to do it safely — plus, when you should always leave it to a professional.
Why Professional Removal Is Always Best
Acrylics are designed to be strong and long-lasting, which is exactly why they’re so hard to remove. In the salon, I use a combination of e-filing and professional-grade acetone to safely break down the acrylic without harming the natural nail underneath. Done correctly, this prevents over-filing, thinning, or painful damage to your nails.
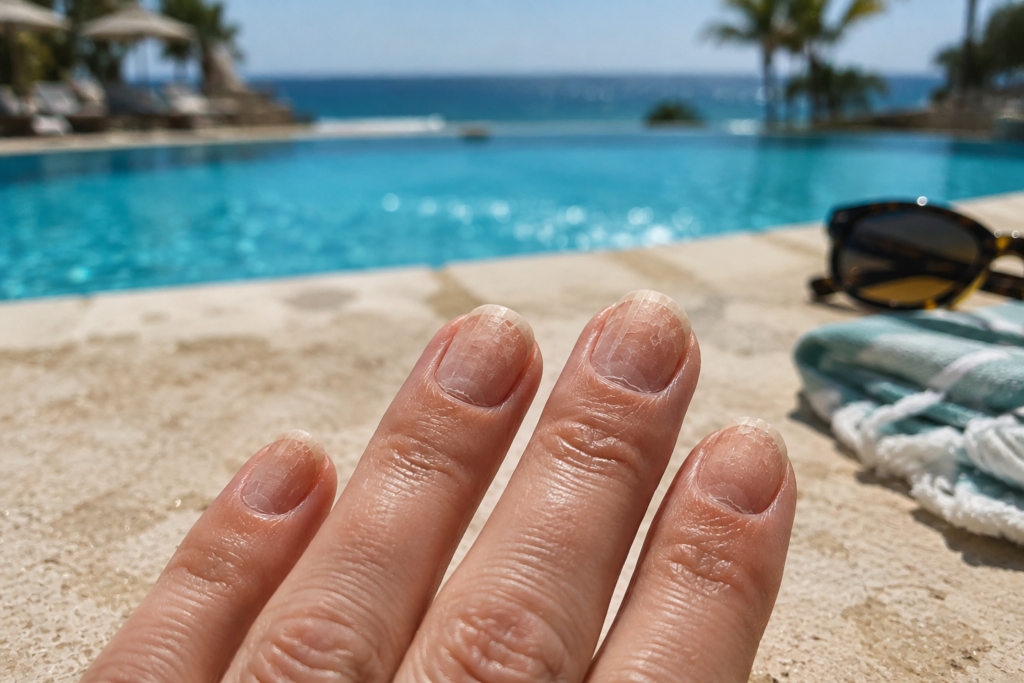
Attempting to rip, pick or bite acrylics off can peel away layers of your natural nail, leaving them weak, thin, and sore. Professional removal is always the safest choice if you want to maintain healthy nails in the long term.
When You Might Try At-Home Removal
There are a few situations where at-home removal might be considered:
- You can’t easily access a salon.
- You’ve got a broken or lifting acrylic before an important event.
- You need a temporary solution before your next proper appointment.
Even then, DIY removal should be a last resort, and only if you can do it safely.
What You’ll Need
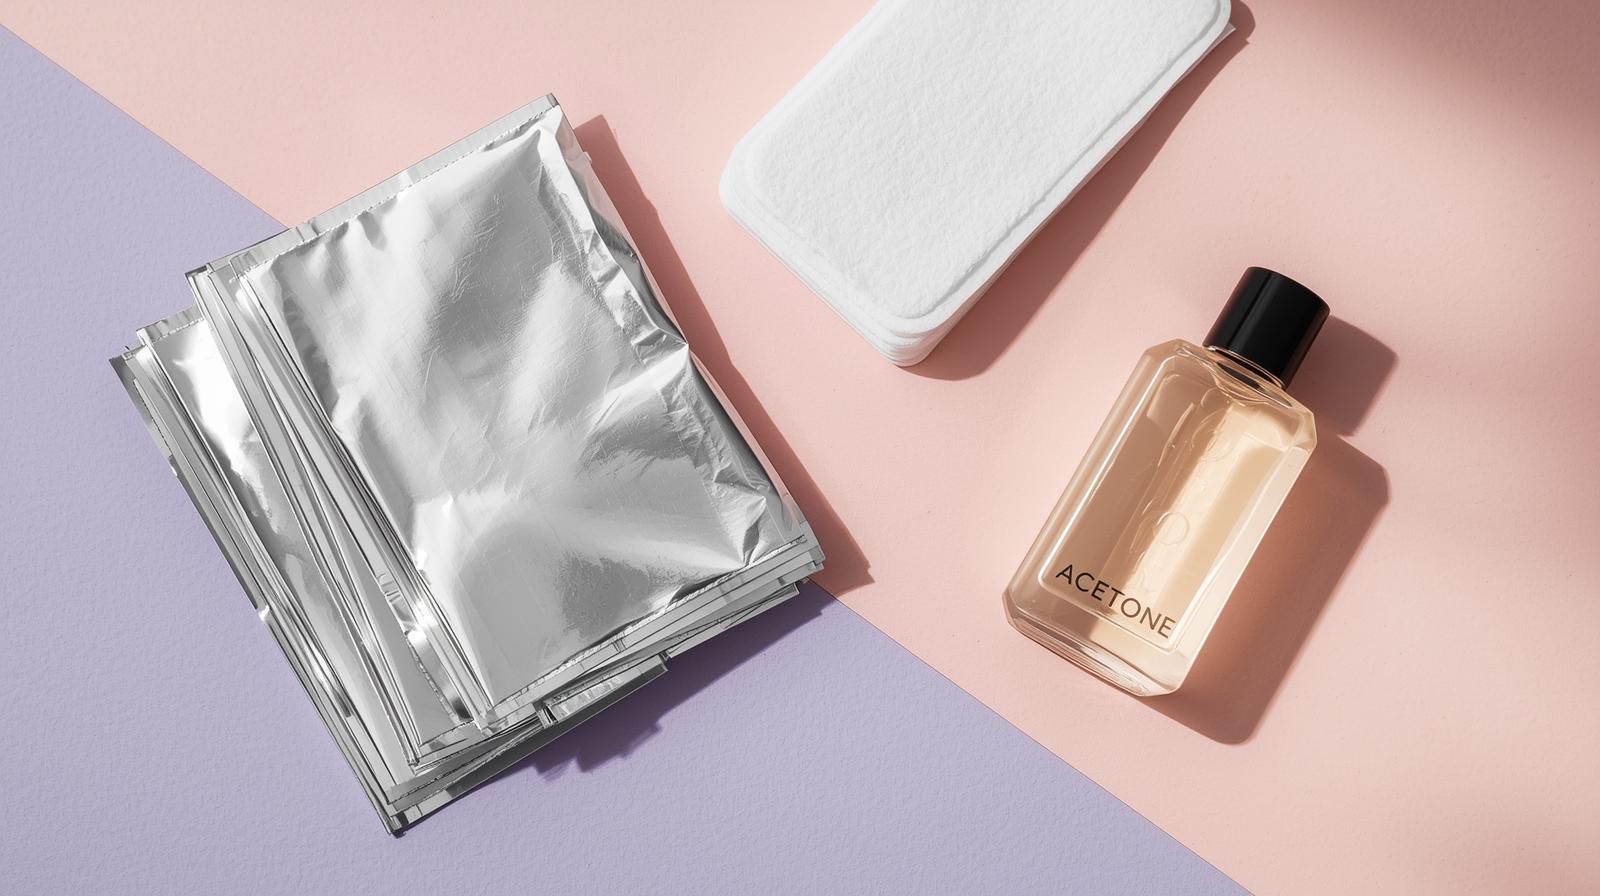
If you do decide to try at-home acrylic removal, make sure you have the right tools to hand:
- 100% pure acetone (not regular nail polish remover).
- Foil cut into small squares.
- Cotton pads or balls.
- A nail file or buffer.
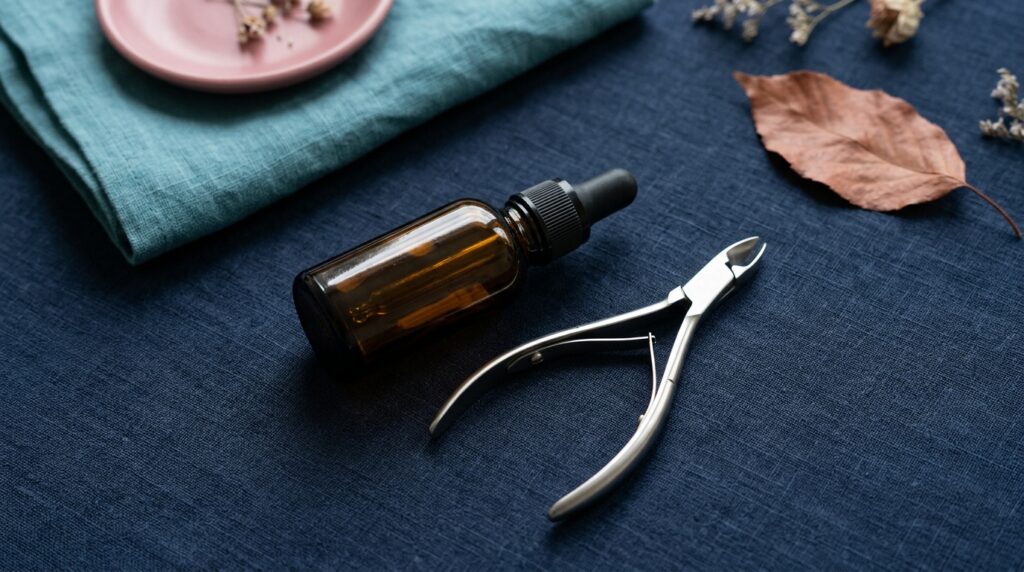
- A cuticle pusher or orangewood stick.
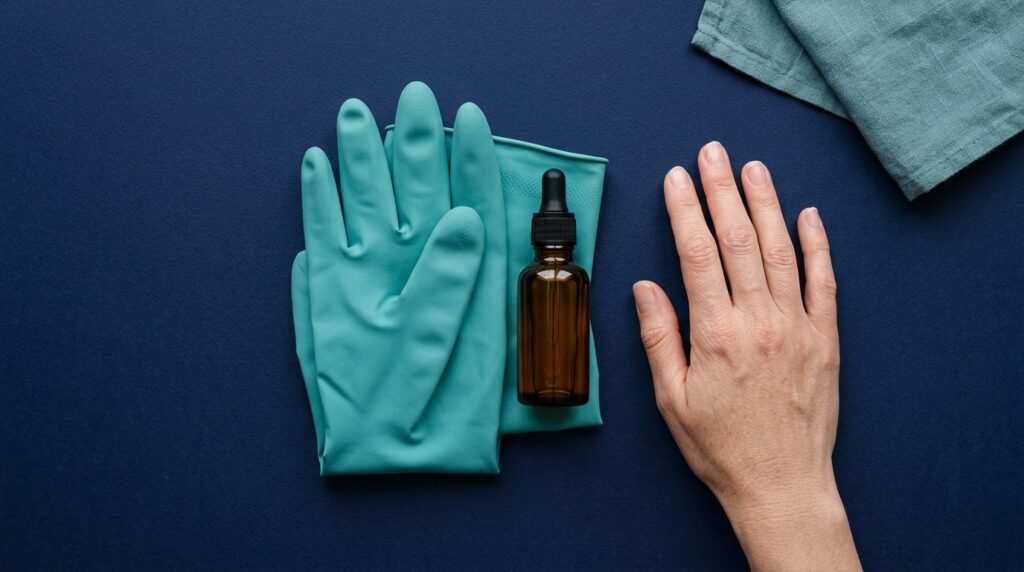
- Cuticle oil and hand cream for aftercare.
⚠️ Avoid unsafe “hacks” like dental floss, bank cards, or forcefully prying the acrylic off. These will almost always damage your natural nails.
Step-by-Step: Safe Acrylic Removal at Home
- File away the top coat – Use a coarse nail file to remove the shiny layer of polish gently. This helps the acetone penetrate the acrylic more effectively.
- Soak cotton pads in acetone – Place them on each nail and wrap with foil to keep them in place and prevent the acetone from evaporating.
- Wait 15–20 minutes – Allow the acetone time to soften the acrylic.
- Gently push off softened product – Use a cuticle pusher or orangewood stick to nudge away any loosened acrylic carefully. Don’t force it. Be very careful not to damage your natural nail underneath.
- Re-soak if needed – If some acrylic remains, re-wrap with acetone and foil for another 10–15 minutes.
- Buff and hydrate – Lightly buff away any residue, then apply cuticle oil and moisturiser to restore hydration.
When NOT to Remove at Home
DIY removal is not suitable if:
- You have greenies (bacterial infection) or other nail damage.
- You’re wearing sculpted acrylics rather than tips.
- You experience pain, sensitivity, or soreness in the nails.
In these cases, it’s best to book a professional removal to prevent further damage.
Aftercare: What Your Nails Need Next
Once your acrylics are off, your natural nails will need some TLC:
- Cuticle oil – Massage in daily to restore hydration.
- Strengthening treatments – A gentle nail strengthener can help rebuild resilience.
- Protective overlay – A light polish or builder gel can give extra support while your nails recover.
💡 For the safest results, read my post on How Do Salons Remove Acrylic Nails?