
You’ve been thinking about it for a while. Maybe you’ve scrolled through endless photos, saved a few to your camera roll, and quietly wondered whether nail extensions would suit you. But something’s holding you back. You don’t know what actually happens during the appointment, how they’ll feel, or what you’ll need to do afterwards to keep them looking right.
That’s completely normal. Walking into something you’ve never experienced before is always a bit daunting, especially when it involves your hands, which are on display every single day.
So let me walk you through it. Not a glossy version, but the honest, practical reality of what getting nail extensions looks like from start to finish.
What Types of Nail Extensions Are There?
Before we get into the process, it’s worth knowing that “nail extensions” isn’t one single thing. There are several different systems, and the right one for you depends on your natural nails, your lifestyle, and the look you’re going for.
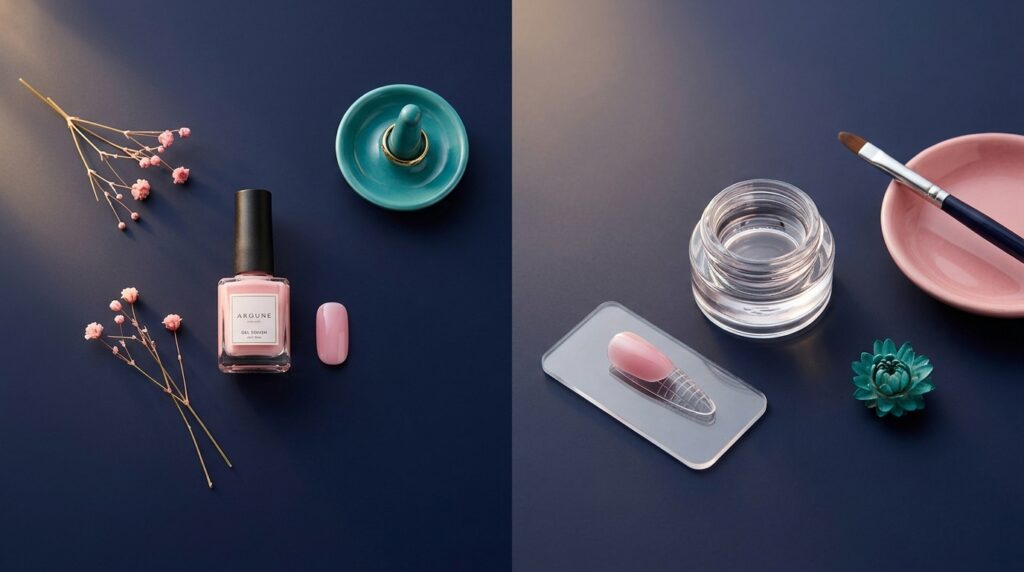
The most common options are acrylic extensions, soft gel tips, and builder gel. Each one feels different on the nail and offers a different level of strength. If you’ve read anything about alternatives to acrylics, you’ll already know there’s no single “best” option. It depends on you.
A good nail tech will talk through your options during your appointment and recommend the right system based on the condition of your nails and what you want to achieve. You don’t need to arrive knowing exactly what you want. That’s what the consultation is for.
What Happens Before the Extensions Go On
This is the bit most people don’t expect to take as long as it does. Prep is everything. Seriously. It’s the difference between extensions that last three weeks and extensions that pop off in three days.
Your nail tech will start by assessing your natural nails, looking at their condition and shape, then checking for any damage and seeing how your cuticles are sitting. Then comes the prep work: tidying the cuticle area, removing the shine from your nail plate, and dehydrating the surface so the product can bond properly.
None of this should hurt. If someone is cutting into your cuticles or filing aggressively into the nail plate, that’s a red flag, not a normal part of the process. I’ve written more about cuticle care if you’re curious about what good practice looks like.
The prep stage might take 15 to 20 minutes, sometimes longer on a first visit. It’s not wasted time. It’s the foundation for everything that follows.
The Application Process
What happens next depends on the system being used.
With soft gel tips, a pre-made tip is sized and fitted to each nail, then secured with a gel adhesive and cured under an LED lamp. Your tech will then shape and file the tip to your preferred length and style. It’s a relatively quick process and tends to feel lighter than some other options.
With acrylic, a liquid and powder are mixed together and applied to your nail, usually over a form or tip, to build the extension. It sets as it’s exposed to air, not a lamp. You might notice a slight warmth or a chemical smell during application. Both are normal and nothing to worry about.
With builder gel, the product is applied in layers and cured under an LED lamp between each one. You might feel a brief flash of heat during curing, especially on thinner nails. It should never be painful. If it is, tell your tech straight away so they can adjust.
Whichever system is used, expect some filing and shaping after the structure is built. This is where your tech refines the shape and gets that clean finish. Then comes colour, nail art if you’ve chosen it, and a top coat.
How Long Does the Appointment Take?
For a first full set of extensions, you should expect to be in the chair for around one and a half to two hours. Sometimes a little longer if you’re having detailed nail art or if there’s extra prep work needed.
This isn’t something to rush. If someone is offering a full set of extensions in 45 minutes, I’d have questions about the prep quality and the attention to detail.
Bring your phone, bring a podcast, settle in. It’s actually quite a nice excuse to sit still for a while.
What Do They Feel Like?
This is the question everyone wants answered, and the honest answer is: a bit weird at first.
You’ll be very aware of them for the first day or two. They’ll feel heavier than your natural nails. You might fumble with your phone, struggle with buttons, or misjudge how far your fingers extend. Opening a can of fizzy drink will briefly feel like a puzzle. I highly recommend picking up a Keysie to keep you hydrated 😉
This passes quickly. By day three or four, most people have completely adjusted and can’t imagine going back. Your brain is remarkably good at adapting.
One thing to be realistic about: if you’ve gone from very short natural nails to a significant length increase, there’s a bigger adjustment period. Going from nothing to talons in one appointment is technically possible, but a more moderate length for your first set will make the transition much more comfortable. A good tech will guide you on this.
Aftercare Matters More Than You Think
Here’s where I see the biggest gap between expectation and reality. People assume extensions are bulletproof. They’re not. They’re strong, but they’re not indestructible, and how you treat them in the weeks after your appointment makes a real difference to how long they last.
The basics:
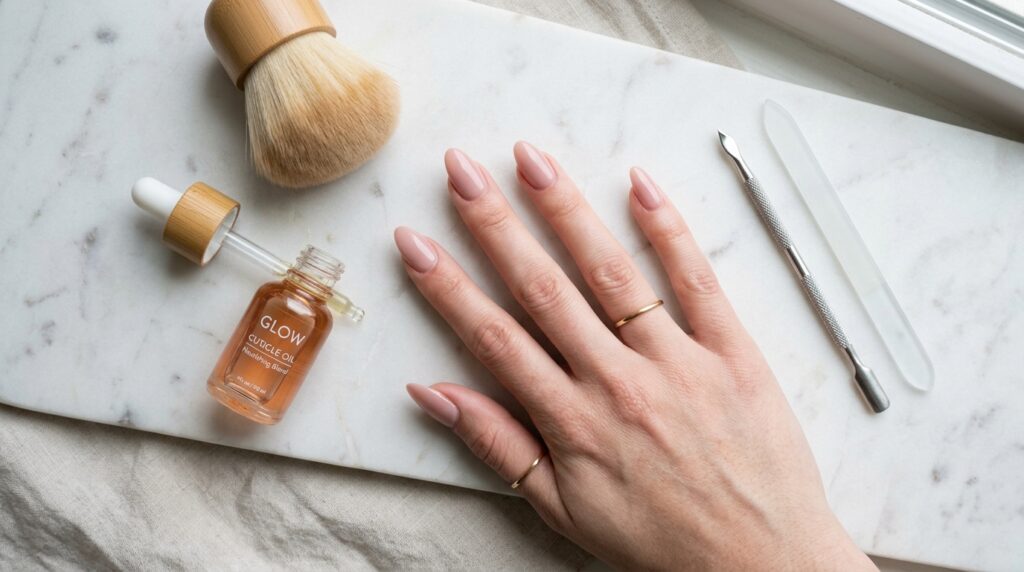
Cuticle oil, every single day. Twice a day is even better. It keeps the skin around your nails healthy, helps prevent lifting, and keeps the whole look fresher for longer. I’ve written a full guide to cuticle care that covers this in more detail.
Wear gloves for cleaning. Household chemicals and prolonged soaking in hot water are both enemies of nail extensions. A pair of rubber gloves costs very little and protects your investment.
Don’t use your nails as tools. I know this sounds obvious, but you’d be surprised how quickly new habits form. Picking at labels, prising open lids, generally treating your nails like a multi-tool. Your extensions are for looking beautiful, not for DIY.
Book your infill on time. As your natural nails grow out, you’ll see a gap forming at the base. This is normal and expected. Your tech will advise you on timing, but most extension systems need maintenance every two to three weeks. Leaving it too long puts stress on the extension and increases the risk of lifting or breakage. I’ve covered how long extensions should realistically last in a separate post.
What to Do If a Nail Lifts or Breaks
A nail might lift slightly at the edges. One might catch on something and crack. These things happen, even with perfect application and great aftercare, because you’re living your life and using your hands.
The important thing is what you do next. Don’t pick at it. Don’t peel it off. Don’t try to glue it back down with superglue from the kitchen drawer. I’ve written about what happens when you pick off gel or extensions, and it’s worth a read if you’re ever tempted.
Contact your nail tech. Most of us offer repairs between appointments, and a quick fix is always better than the damage caused by pulling off a lifted extension yourself.
A Realistic Expectation to Carry With You
Your first set of extensions might not be the absolute best set you’ll ever have. It takes an appointment or two for your tech to really learn your nails, what they respond well to, how quickly they grow, where they’re prone to stress.
That doesn’t mean your first set won’t look great. It will. But the relationship between you and your nail tech builds over time, and the results get even better as they get to know your hands.
Think of your first appointment as the start of something, not a one-off experiment.
What to Do Before Your First Appointment
There’s not much you need to do in advance, but a few small things help:
Come with clean, bare nails if possible. No polish, no old gel, no product from another tech. If you’ve got something on your nails that needs removing, let your tech know when you book so they can allow extra time.
Have a rough idea of the length and shape you’re drawn to, even if it’s just a couple of saved photos. You don’t need to have every detail planned. Your tech will help you narrow it down. If you’re unsure about shape, my guide to choosing the right nail shape might help.
Eat before you arrive. It sounds silly, but sitting still for two hours on an empty stomach isn’t fun. And keep your water bottle handy.
That’s it. You don’t need to prep your nails in any special way. In fact, please don’t push your own cuticles or file your nails beforehand. Leave that to the person who’s trained to do it properly.
Ready for Your First Appointment?
Getting nail extensions for the first time is genuinely exciting once you get past the nerves. There’s something about looking down at your hands and seeing them completely transformed that just feels good.
Go in with realistic expectations, ask questions if you’re unsure about anything, and trust the process. Your nail tech wants you to leave happy. That’s the whole point.